
Choose the screen that suits the job
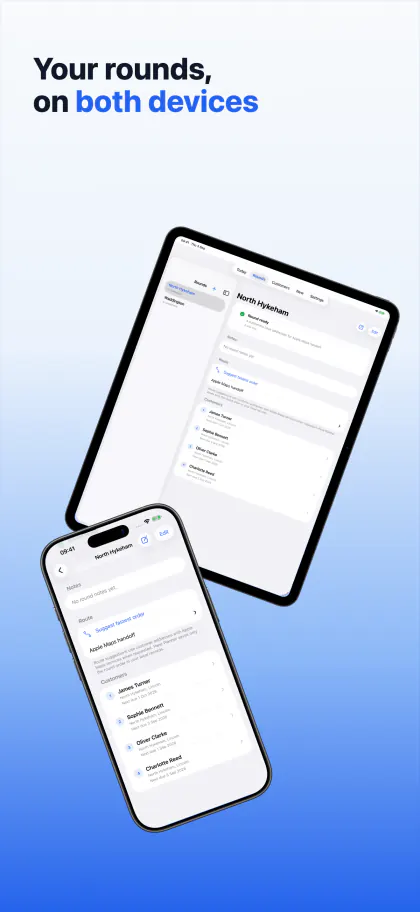
Use Pane Planner on iPhone when you are moving through a round, on iPad when you want more room to review the day, or on Mac when you are planning rounds, importing customer records and preparing paperwork with a mouse and keyboard. Pane Planner on iPhone and iPad remains fully featured and does not require a Mac.
If you turn on private iCloud sync, supported customer, round and visit records can stay up to date between devices signed in to the same Apple Account. The apps also work with records stored only on that device.
Set up your first round
A round keeps customers together in the order you normally visit them.
- Open Pane Planner and enter a name for your first round.
- Add the first customer or property when the app asks for one.
- Choose Add round and then Add customer to save the starting records.
To add another round later, open Rounds and choose the plus button. On Mac, choose New Round from the toolbar or File menu. Starter supports one active round and up to 30 active customers. Existing records remain readable if you reach a limit.
Add a customer
- On iPhone or iPad, open Customers and choose the plus button, or open New and select Customer. On Mac, open Customers and choose New.
- Enter the customer name and choose their round.
- Add the contact number, email address, address, next due date and repeat interval that help you manage the work.
- Add access notes, service notes, tags and a usual price if they will help at the next visit.
- Choose Add customer or Save.
A complete address helps Apple Maps find the property. If an address cannot be found, the customer stays in Pane Planner and is marked for an address check.
Bring in customers from a CSV file
You can import customer details from a spreadsheet saved as a CSV file. Nothing is added until you review the result and choose Apply.
- On iPhone or iPad, open Settings, then Storage and exports, and choose Import customers CSV. On Mac, open Customers and choose Import.
- If you are preparing a new file, download the customer import template first. You can also choose an existing CSV file.
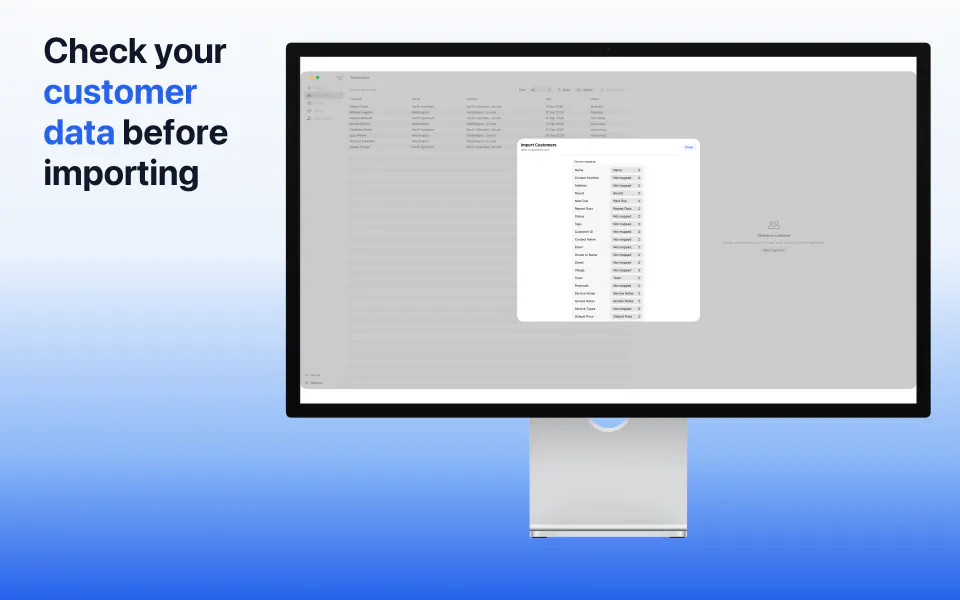
- Match the columns in your file to the Pane Planner fields. Check the suggested matches before continuing.
- Review the summary showing customers to create, update or skip, plus any new rounds.
- Open every row marked with an error. Correct the source value or choose the action Pane Planner should take.
- When no decision is left unresolved, choose Apply or Apply Reviewed Import.
If Apply is greyed out, look at the rows under Errors. Duplicate customer IDs, missing required names and rows that still need a round or action must be resolved or skipped before the import can continue.
Plan a round and its order
- Open Rounds and choose a round.
- Check the address message at the top. Customers whose addresses need attention are listed separately.
- Move customers into the order you want to visit them.
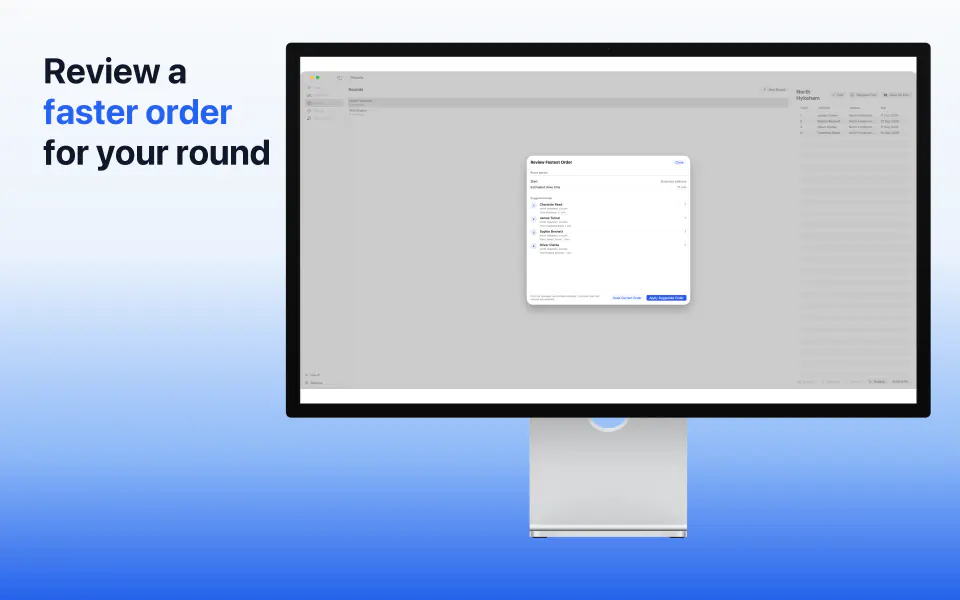
- To ask for help with the order, choose Suggest fastest order.
- Review the suggested start point, drive time, customer order and any addresses that could not be used.
- Choose Apply Order or Apply Suggested Order only if the suggestion suits your day.
Pane Planner uses Apple Maps services only when you request a route action. A suggestion is a planning aid, so check access times, parking, local knowledge and any other limits before you accept it.
Choose Apple Maps handoff, Navigate first stop or a customer’s Maps action when you want to open the address in Apple Maps.
See what needs doing today
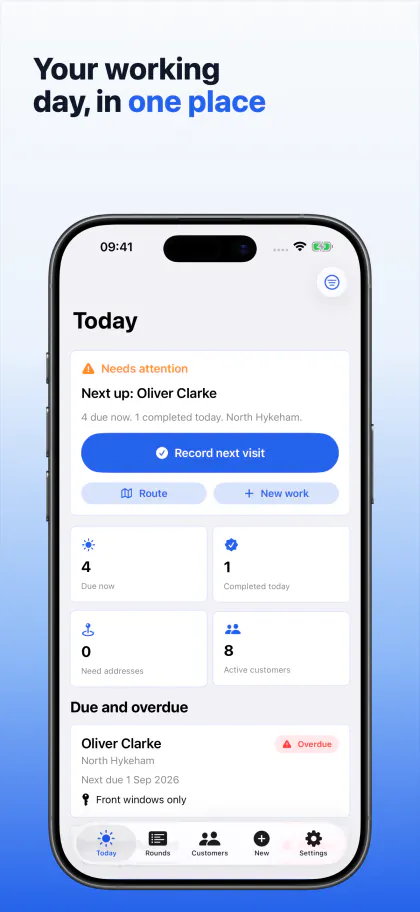
Open Today to see due, overdue and upcoming customers, work completed today and customers whose addresses need attention. Choose the next customer to open their record, or use Record next visit when you are ready to record the next job.
Use Dashboard filters to focus on selected rounds, due status, dates, tags or missing addresses. Pane Planner Pro can save a useful filter so you can return to it later.
Find and update a customer
Open Customers to search names, contact details, addresses, notes, tags and rounds. Use the quick filters to find due, overdue or incomplete-address records.
- Choose a customer to open their record.
- Check the address, contact details, access notes, service notes, usual price, next due date and visit history.
- Choose Edit to make a change, then choose Save.
Change several customers together
Use Select customers on iPhone or iPad, or Bulk Change on Mac, when the same change applies to several customers. Choose the customers and the field to change, review the proposed result, then apply it. Existing visit history keeps its original round information.
Record a visit
- Open the customer and choose Record visit, or start from Today.
- Choose Completed, Skipped, Deferred or Partial.
- Check the visit date, amount and next due date.
- Add a note when it will help you or the customer understand the record later.
- Choose Save visit.
For work that should not move the customer’s normal schedule, choose the one-off work option where it is available.
Return to unfinished work
While you record a visit, your updates are saved as a draft so an interruption does not mean starting again. Open Saved drafts, or use the saved-draft message on Today, to continue later.
- Resume continues from the saved information.
- Start again opens a fresh version when the original record has changed.
- Discard removes only that draft. It does not remove the customer, round or saved visits.
Add proof photos with Pro
- Open the visit you are recording and choose Choose proof photos.
- Select the images you want to keep with the visit.
- Review the photos, add captions if useful and change their order when needed.
- Use Replace or Remove before saving the visit if an image is wrong.
On Mac, choose existing image files. The Mac app does not take a photo. Only keep and share photos that you have a right to use and that are suitable for the customer record.
Find an earlier visit
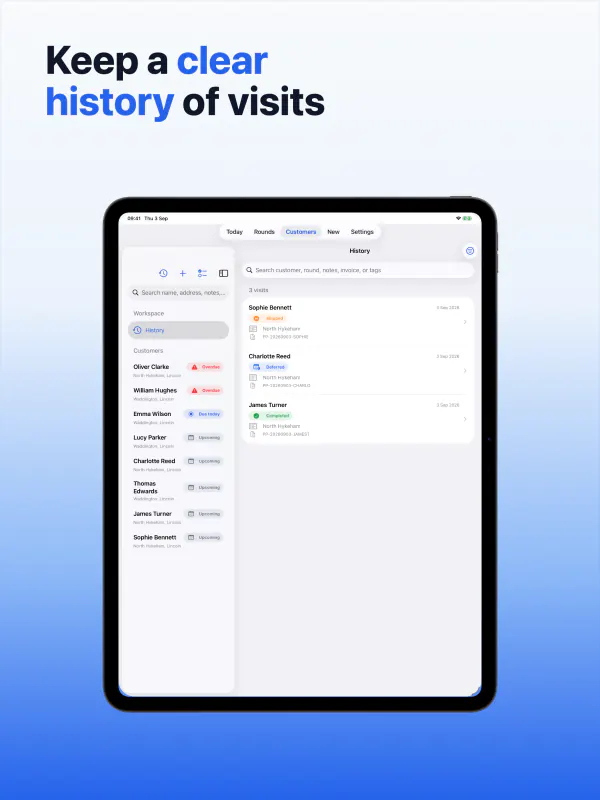
Open History to search by customer, round, notes, invoice reference or tag. Use filters for dates, visit status and record contents. Open a result to read the saved status, schedule, notes, amount and proof photos, or to prepare a document from that visit.
Add your business details
Open Settings, then Business details on iPhone or iPad. On Mac, open Settings and choose Business. Add the name and contact details you want to appear on documents. You can also choose a logo. Save the settings before creating a PDF.
Choose how your documents look
Open the invoice or document settings to choose a template, accent colour, default document type and optional footer. Add only the payment instructions you want shown. Pane Planner places this information on the PDF; it does not take payments or move money.
Create and share a PDF with Pro
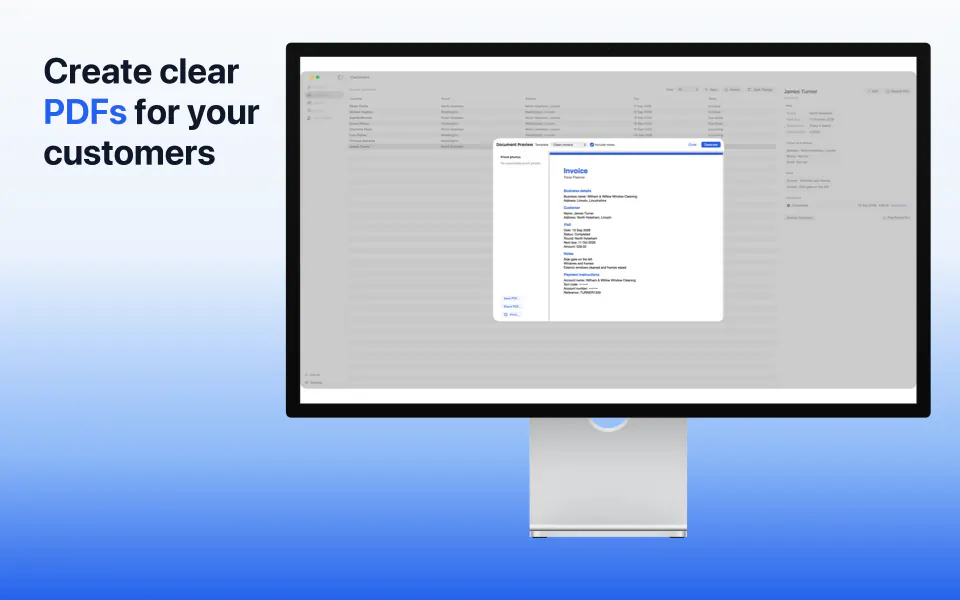
- Open a customer or visit and choose Prepare invoice PDF or Document.
- Choose an invoice, compact job summary or detailed visit record.
- Choose whether to include visit notes and available proof photos.
- Generate the preview and check names, dates, amounts, notes and payment instructions.
- Choose Save or Share. On Mac you can also print or choose a sharing service.
A shared PDF leaves Pane Planner through the place you choose, such as Files, Mail or Messages. Check the recipient before sending customer information.
Export customer or visit records with Pro
On iPhone or iPad, open Settings, then Storage and exports. On Mac, open Settings, then Documents. Choose Export customers CSV or Export visits CSV, wait for the file to be prepared, then save or share it. The exported file is a separate copy, so delete it from its saved location when you no longer need it.
Archive and restore records
Archiving takes a customer or round out of active work without removing its history. Open Settings, then Capacity and archives on iPhone or iPad, or Archive & Sync on Mac, to review and restore archived records.
Before archiving a round, move or archive its active customers. Only an empty round without visit history can be permanently deleted. Read each confirmation before continuing.
Keep supported records up to date with private iCloud
- Sign in to the same Apple Account on each iPhone, iPad or Mac you want to use.
- Open Settings, then Storage and exports on iPhone or iPad. On Mac, open Settings and choose General or Archive & Sync.
- Turn on private iCloud sync on each device.
- Keep an internet connection available and choose Sync now when you want to check for changes.
- Wait for the status to confirm the latest sync before making the same change on another device.
Pane Planner uses your private Apple iCloud account. RGT Software Ltd does not receive the customer, round, visit or proof-photo records you sync.
If Pane Planner reports a sync conflict, review the record and choose the version from this device or the version from iCloud. If a device is offline, its local work remains on that device until it can connect.
Delete Pane Planner data
These are two different actions. Read the warning carefully before choosing either one.
Delete data from this device
- Open Settings, then Storage and exports on iPhone or iPad. On Mac, open Archive & Sync.
- Choose Delete data from this device or Delete data from this Mac.
- Read the warning and confirm only if you want to remove the local copy.
This does not delete private iCloud data. If you turn sync on again, records held in iCloud can return to the device.
Delete all Pane Planner data from iCloud and connected devices
- Make sure the device is online and your Apple Account is available.
- Choose Delete all Pane Planner data from iCloud and connected devices.
- Read the permanent-deletion warning.
- Type DELETE, then choose Delete Permanently.
- Wait for Pane Planner to confirm that deletion has completed.
This removes Pane Planner customers, rounds, visits, drafts, business details and proof photos from the device and private iCloud. A small marker containing no customer or visit information remains in private iCloud so an offline device cannot silently put older records back.
If Pane Planner cannot reach iCloud before deletion starts, nothing is removed from the device. If the permanent request has started but cleanup is not finished, older records are blocked from replacing it; reconnect to iCloud and choose Retry. Files you previously exported or shared are separate and must be deleted from their saved locations.
Start or restore Pane Planner Pro
- Open Settings, then open Pane Planner Pro.
- Review the monthly and yearly choices shown by the App Store.
- Choose the option that suits you and confirm the purchase with Apple.
- Return to Pane Planner and check that Pro is shown as active.
One Pane Planner Pro subscription covers Pane Planner on iPhone, iPad and Mac when the App Store uses the same Apple Account. No separate subscription is needed for each device.
If Pro should already be active on another device, open the Pane Planner Pro screen and choose Restore Purchases. If products do not load, choose Try Again and check the App Store connection. Apple handles purchases, renewals, cancellations and refunds.
Get help
Visit Pane Planner Support for quick checks. If you still need help, email support@RGTSoftware.com with “Pane Planner” in the subject. Include the device model, software version, Pane Planner version and a short description of what happened. Do not include customer records, proof photos or passwords unless support specifically asks for information that is safe to share.